
Hey Everyone,
I hope you’re all doing well! Today’s post is one that I’ve been super excited to write and share with you. Throughout lockdown I’ve been trying to keep myself occupied by looking for new hobbies and attempting to learn some new skills. A few weeks ago I decided to dive into the world of DIY gel nails and WOW, what a game changer! I thought I would knock up a little tutorial with step by step instructions as well as links to the best bits to have in your kit! Sound good? Let’s get stuck in then shall we…
*This post contains affiliate links*

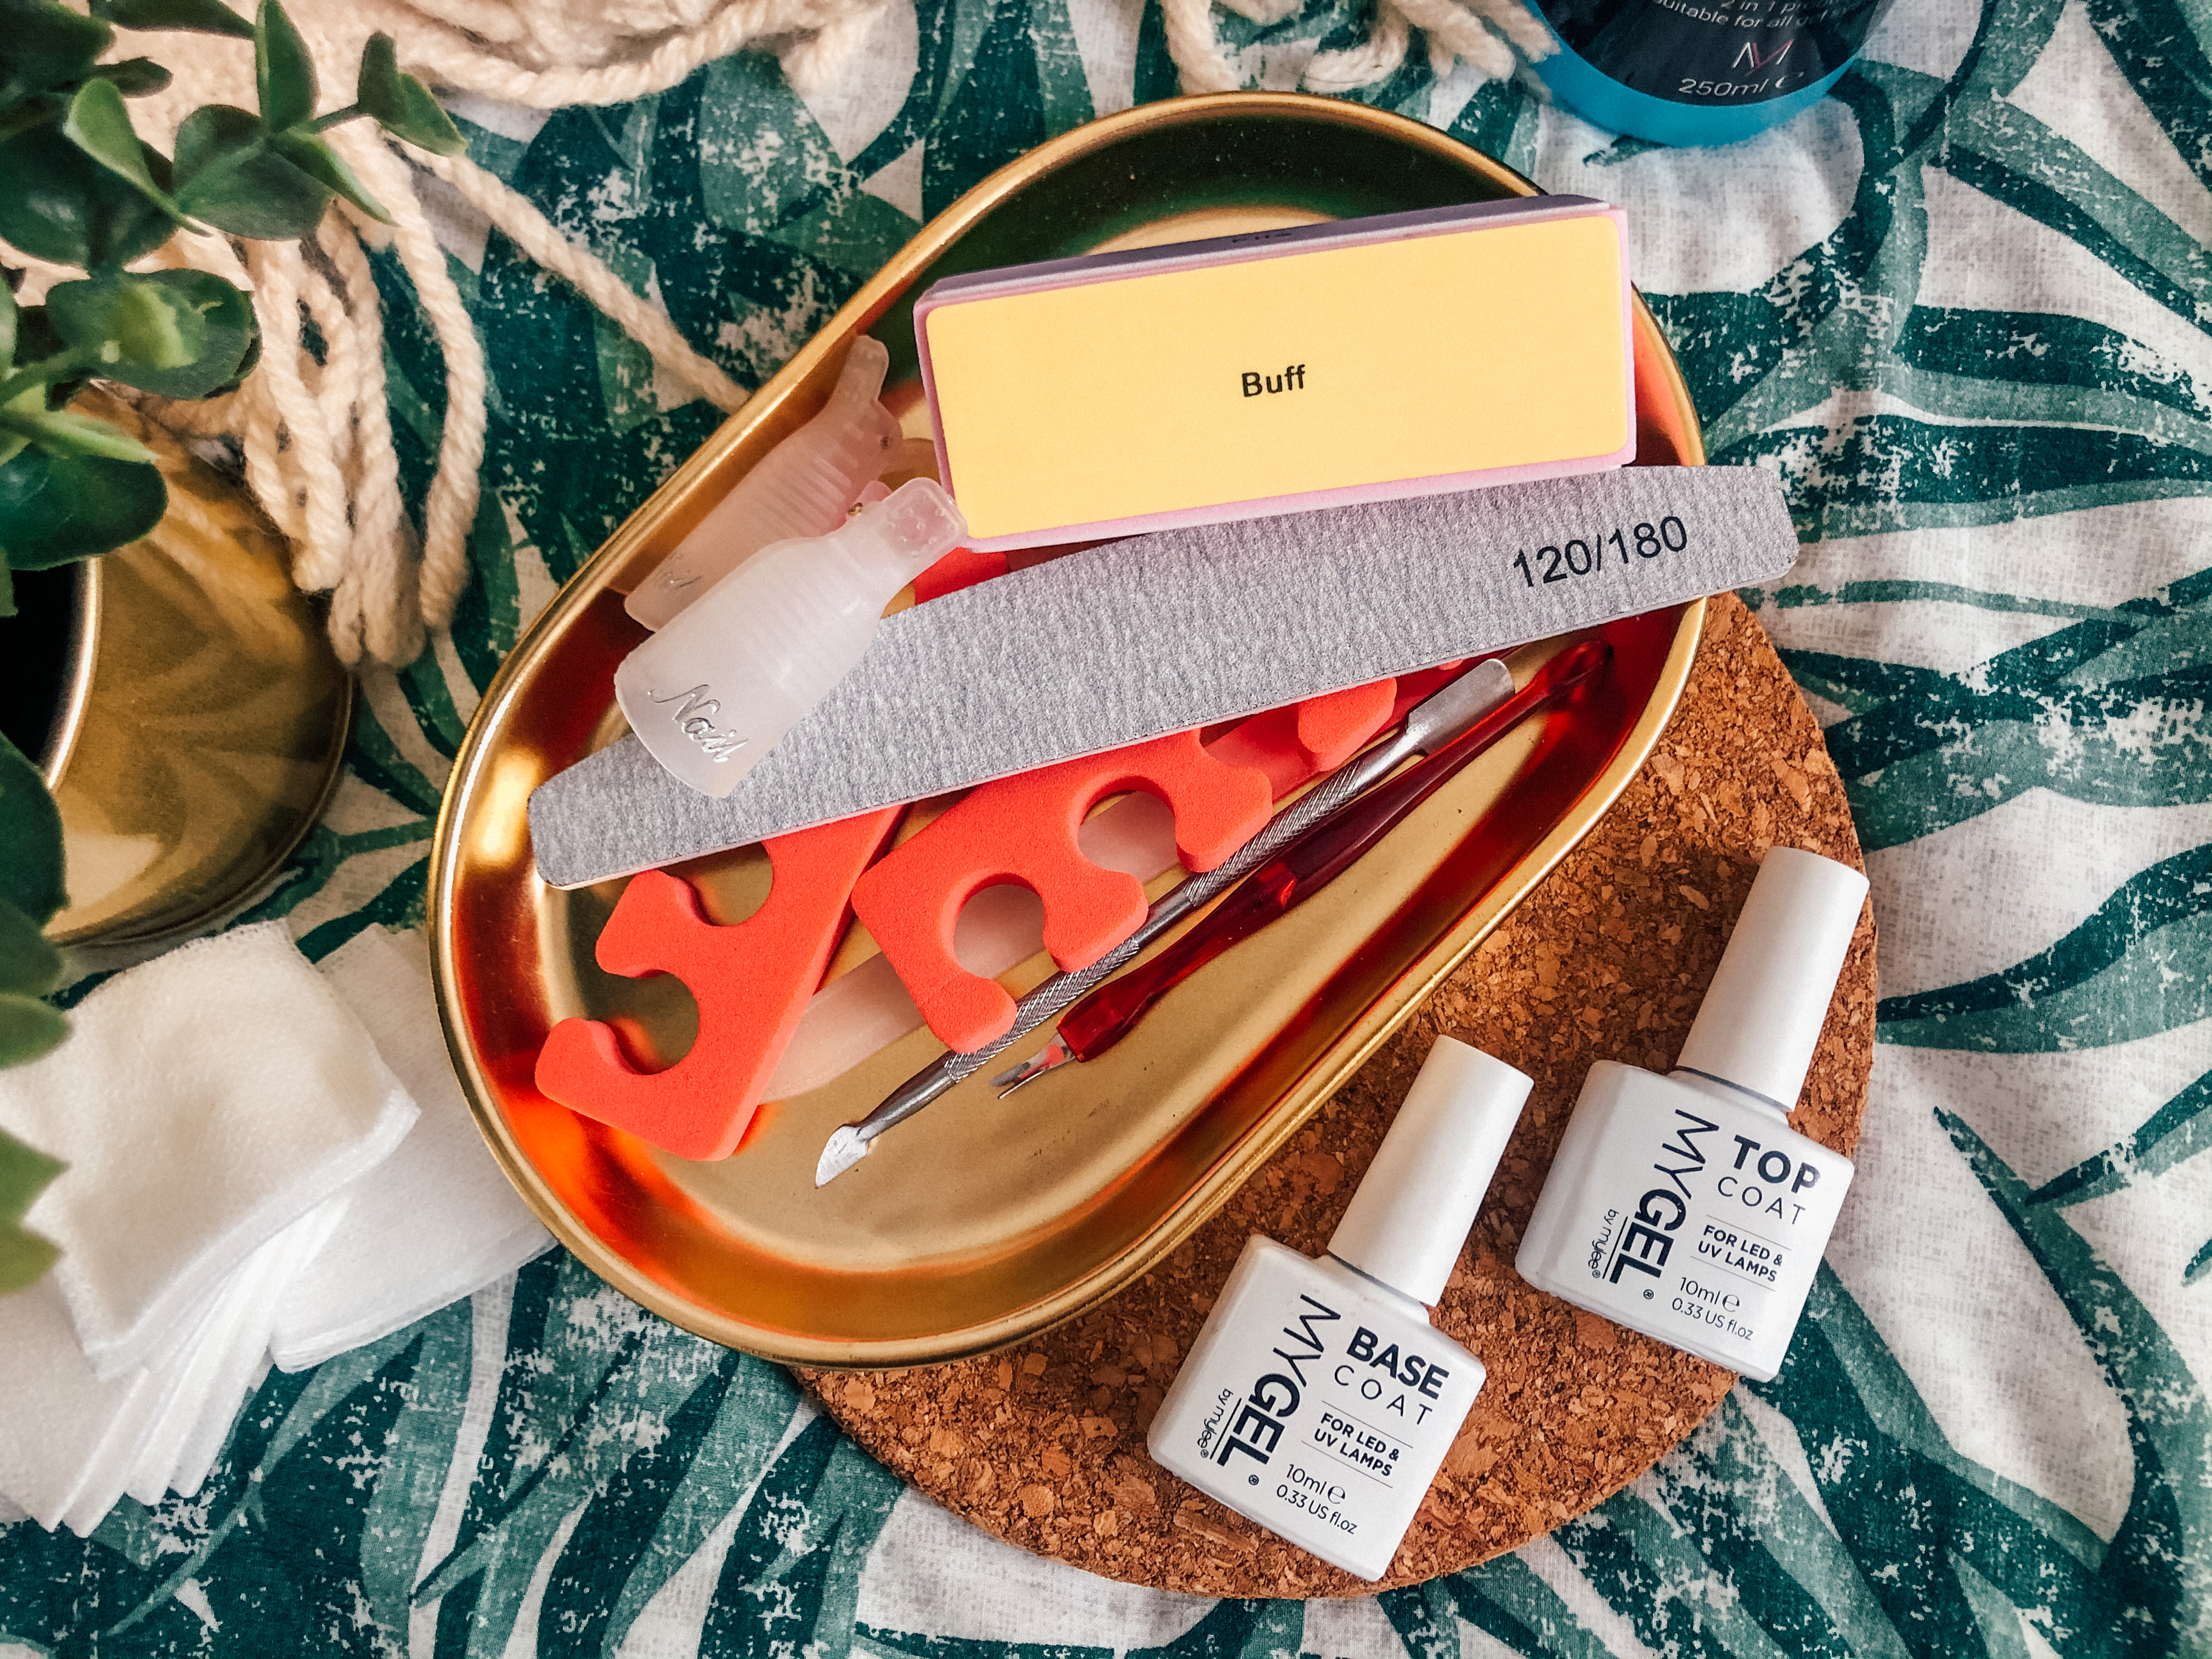
WHAT YOU NEED: THE KIT
You can save time and money by purchasing a kit with the main equipment included. I actually bought this one from Mylee on Amazon as it had lots of great reviews and included the bare essentials to get me started. However, if you’d rather build your own kit, I’ve linked everything that you’ll need below:
- Prep solution
- Gel remover
- Lint free wipes
- Cuticle remover
- Cuticle pusher
- 120/180 grit nail file
- Gel base coat & top coat
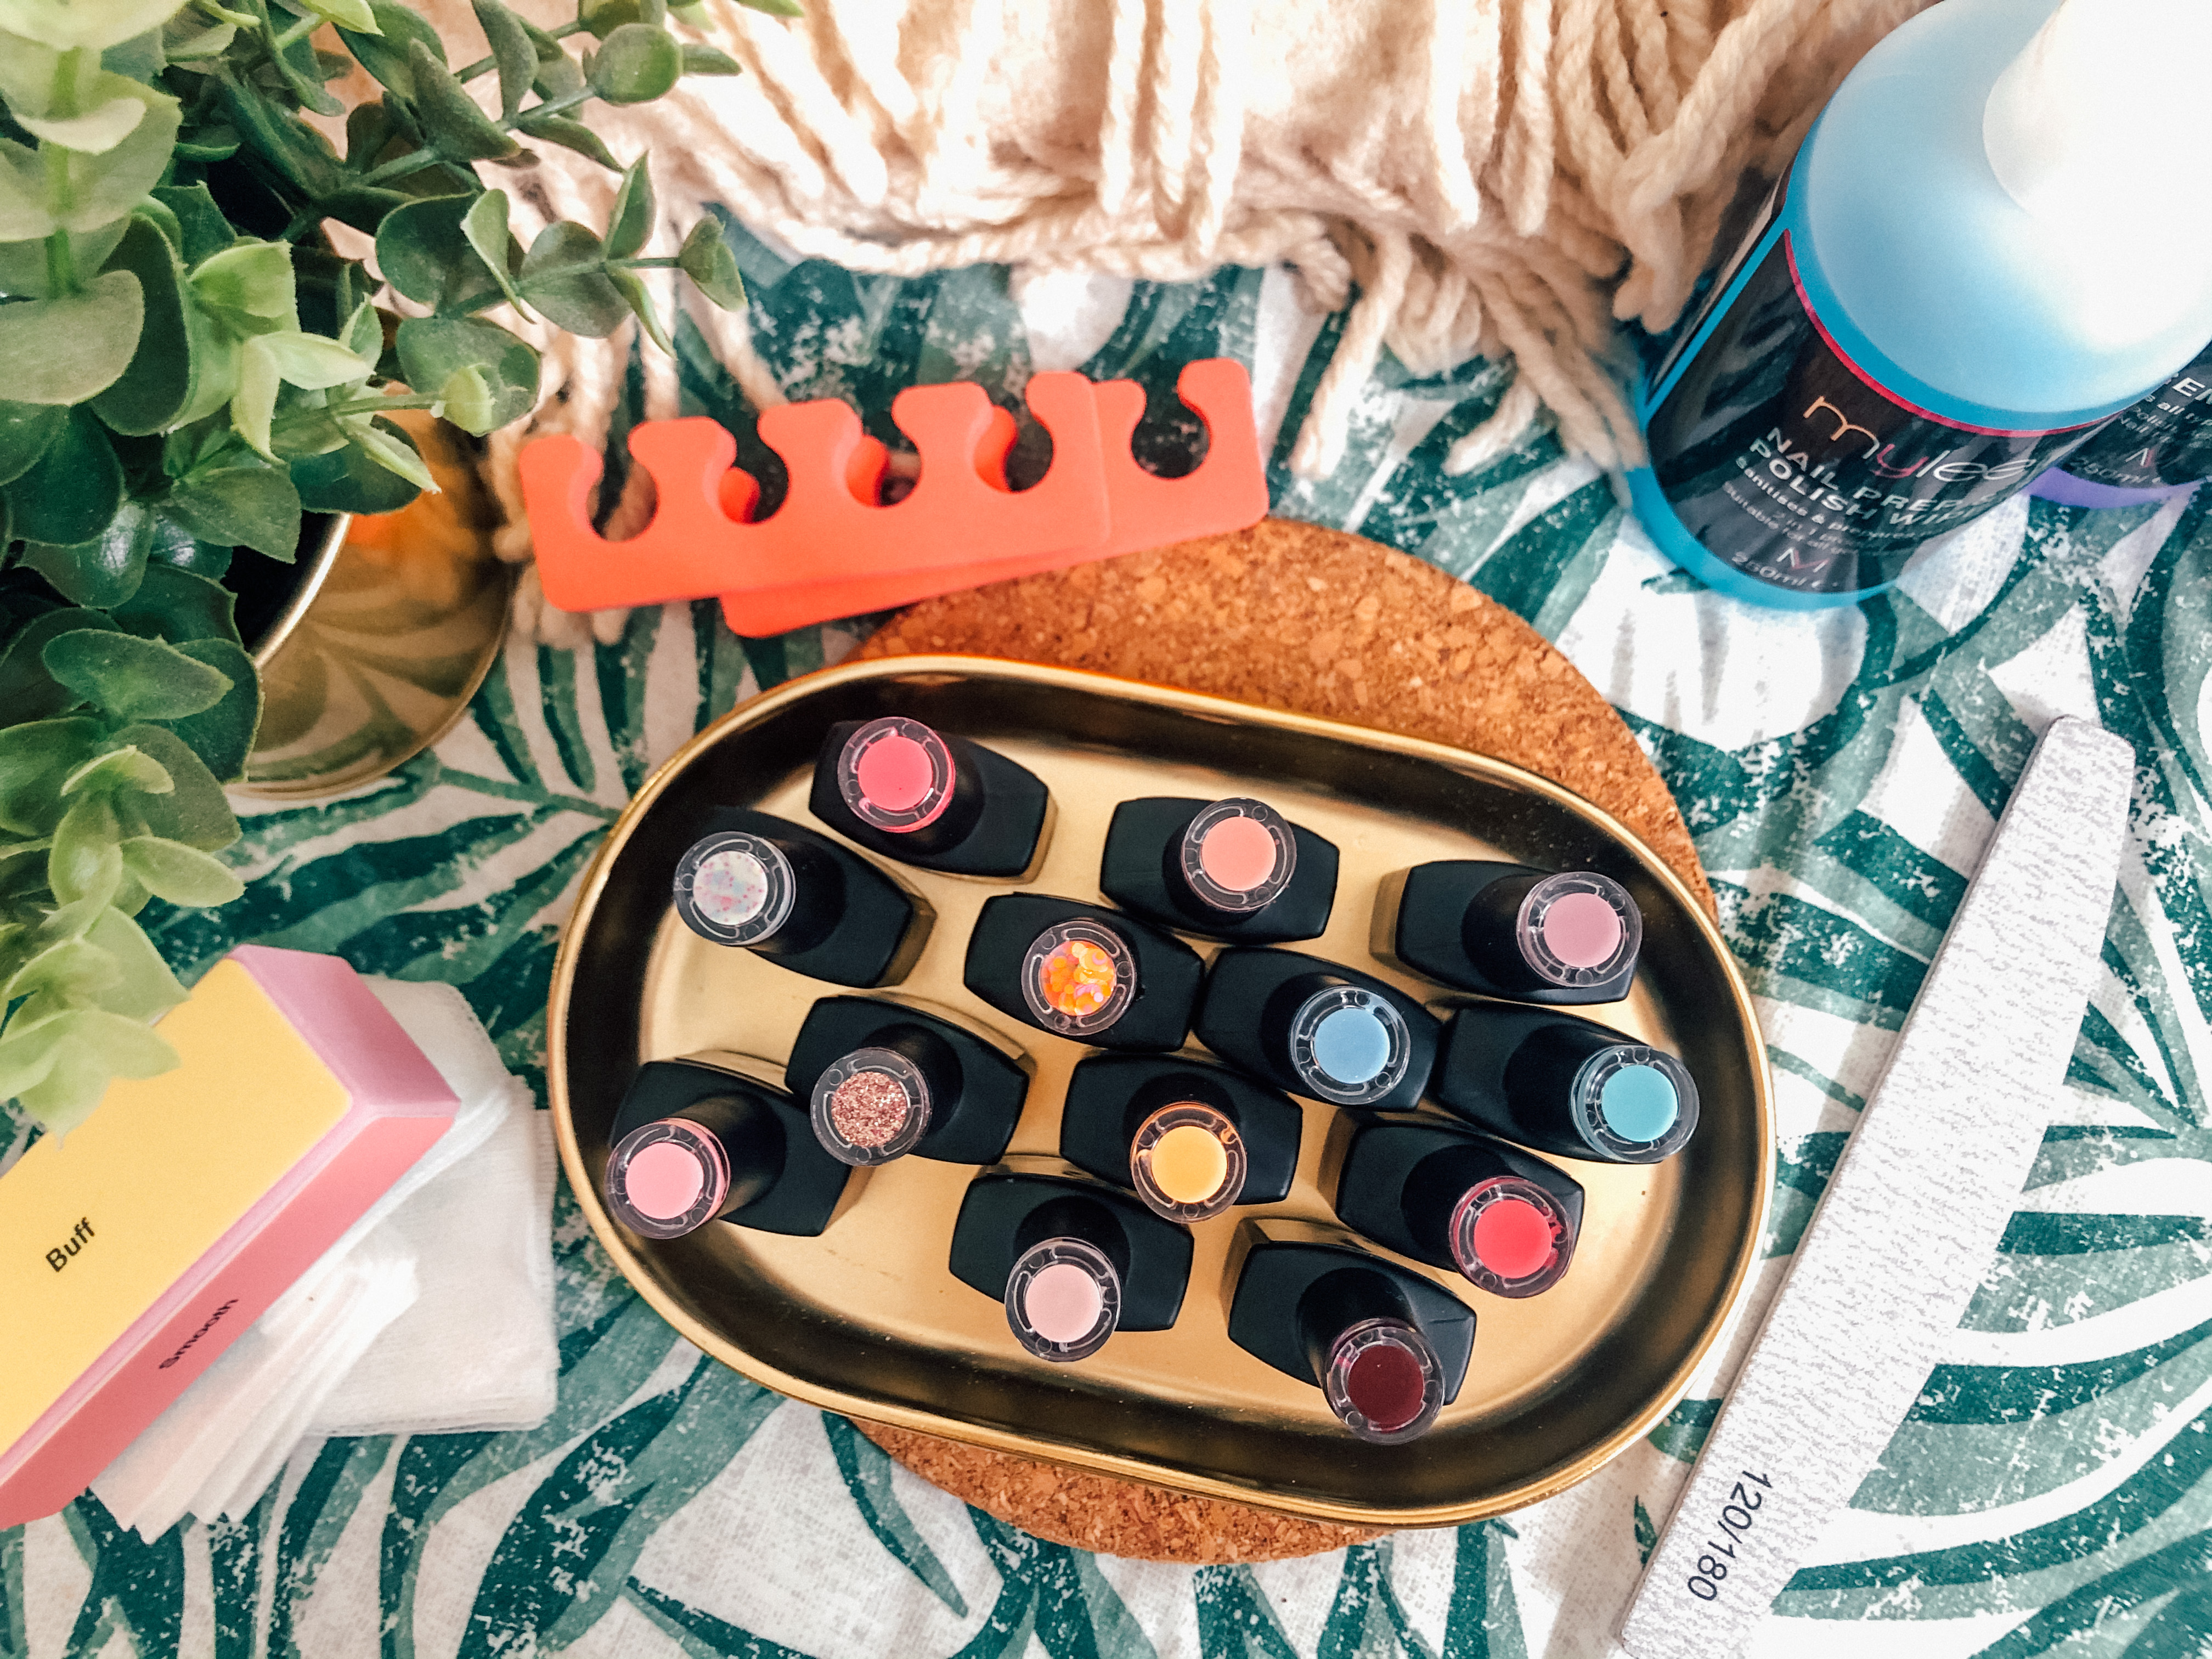
- Gel polish (I like this kit as it comes with a four colours, a top coat and a base coat)
- Buffing block
- A lamp (LED is much quicker than UV and doesn’t damage your skin)
- Cuticle Oil
- Nail remover clips
- Nail swatch display (not essential but super helpful)

HOW TO DO DIY GEL NAILS AT HOME
- Wash your hands and make sure they are dry before applying any polish.
- Use a cuticle pusher or remover to push back your cuticles or remove them completely.
- Use a nail file to shape your nail to your liking.
- Remove any shine from your nails with a buffing block.
- Sanitise your nails with prep solution using a lint free wipe
- Apply a layer of the base coat to your nails
- Cure under the lamp for 30-60 seconds (depending on your lamp model)
- Apply a thin layer of the gel polish of your choice and cure again for 30-60 seconds.
- Apply a top coat and cure for 30-60 seconds.
- Wipe your nails with the prep solution using a lint free wipe.
- Apply cuticle oil
- Admire your handiwork!
TIP: Remove any polish (top, base or colour) from your skin before curing your nails! This helps them to stop chipping or peeling.
HOW TO REMOVE GEL NAILS AT HOME
- Using a buffing block or a nail file, remove any shine from your nails
- Soak a lint free wipe with gel remover (I like to cut the wipes into small rectangular strips to fit my nails)
- Place the soaked wipes over each nail and wrap with foil or attach nail clips to keep them in place.
- Wait for 10-15 minutes before removing the clips and wipes.
- Peel off any remaining polish with a cuticle stick.
- Wash and moisturise your hands and voila!
TIP: To make the removal process quicker, whilst your lint wipes work their magic, keep your hands inside a warm towel whilst you wait.
I really hope you enjoyed this post as much as I enjoyed writing it! Let me know in the comments whether or not you have a gel nail kit at home or if you’re considering buying one! I’d also love to hear your polish recommendations too! Want to know what colours I own? Keep an eye open for my next post featuring my collection (don’t worry I’ll link everything too).
N xxxx
- 5 TIPS FOR SELLING ON DEPOP

- THE FITNESS DIARIES: GETTING STARTED

- VISITING THE FEEL GOOD CLUB IN MANCHESTER
